Quick Start: Tree Registry
The TreeSense Cloud enables the digital management of tree populations—from master data and maintenance history to task management. The focus is on routine inspections and comprehensive documentation to ensure public safety.
Quick Start in 4 Steps
Step 1 – Create a tree and assign a location
Add a new tree: Go to Tree Registry, Tree Inventory, or Map View and click “Add Tree.” Place the tree on the map and confirm the location. Select the project and location, enter the basic information (tree species, year planted, location), and save.
→ Video tutorial: Adding a tree to the tree registry
Step 2 – Complete the master data
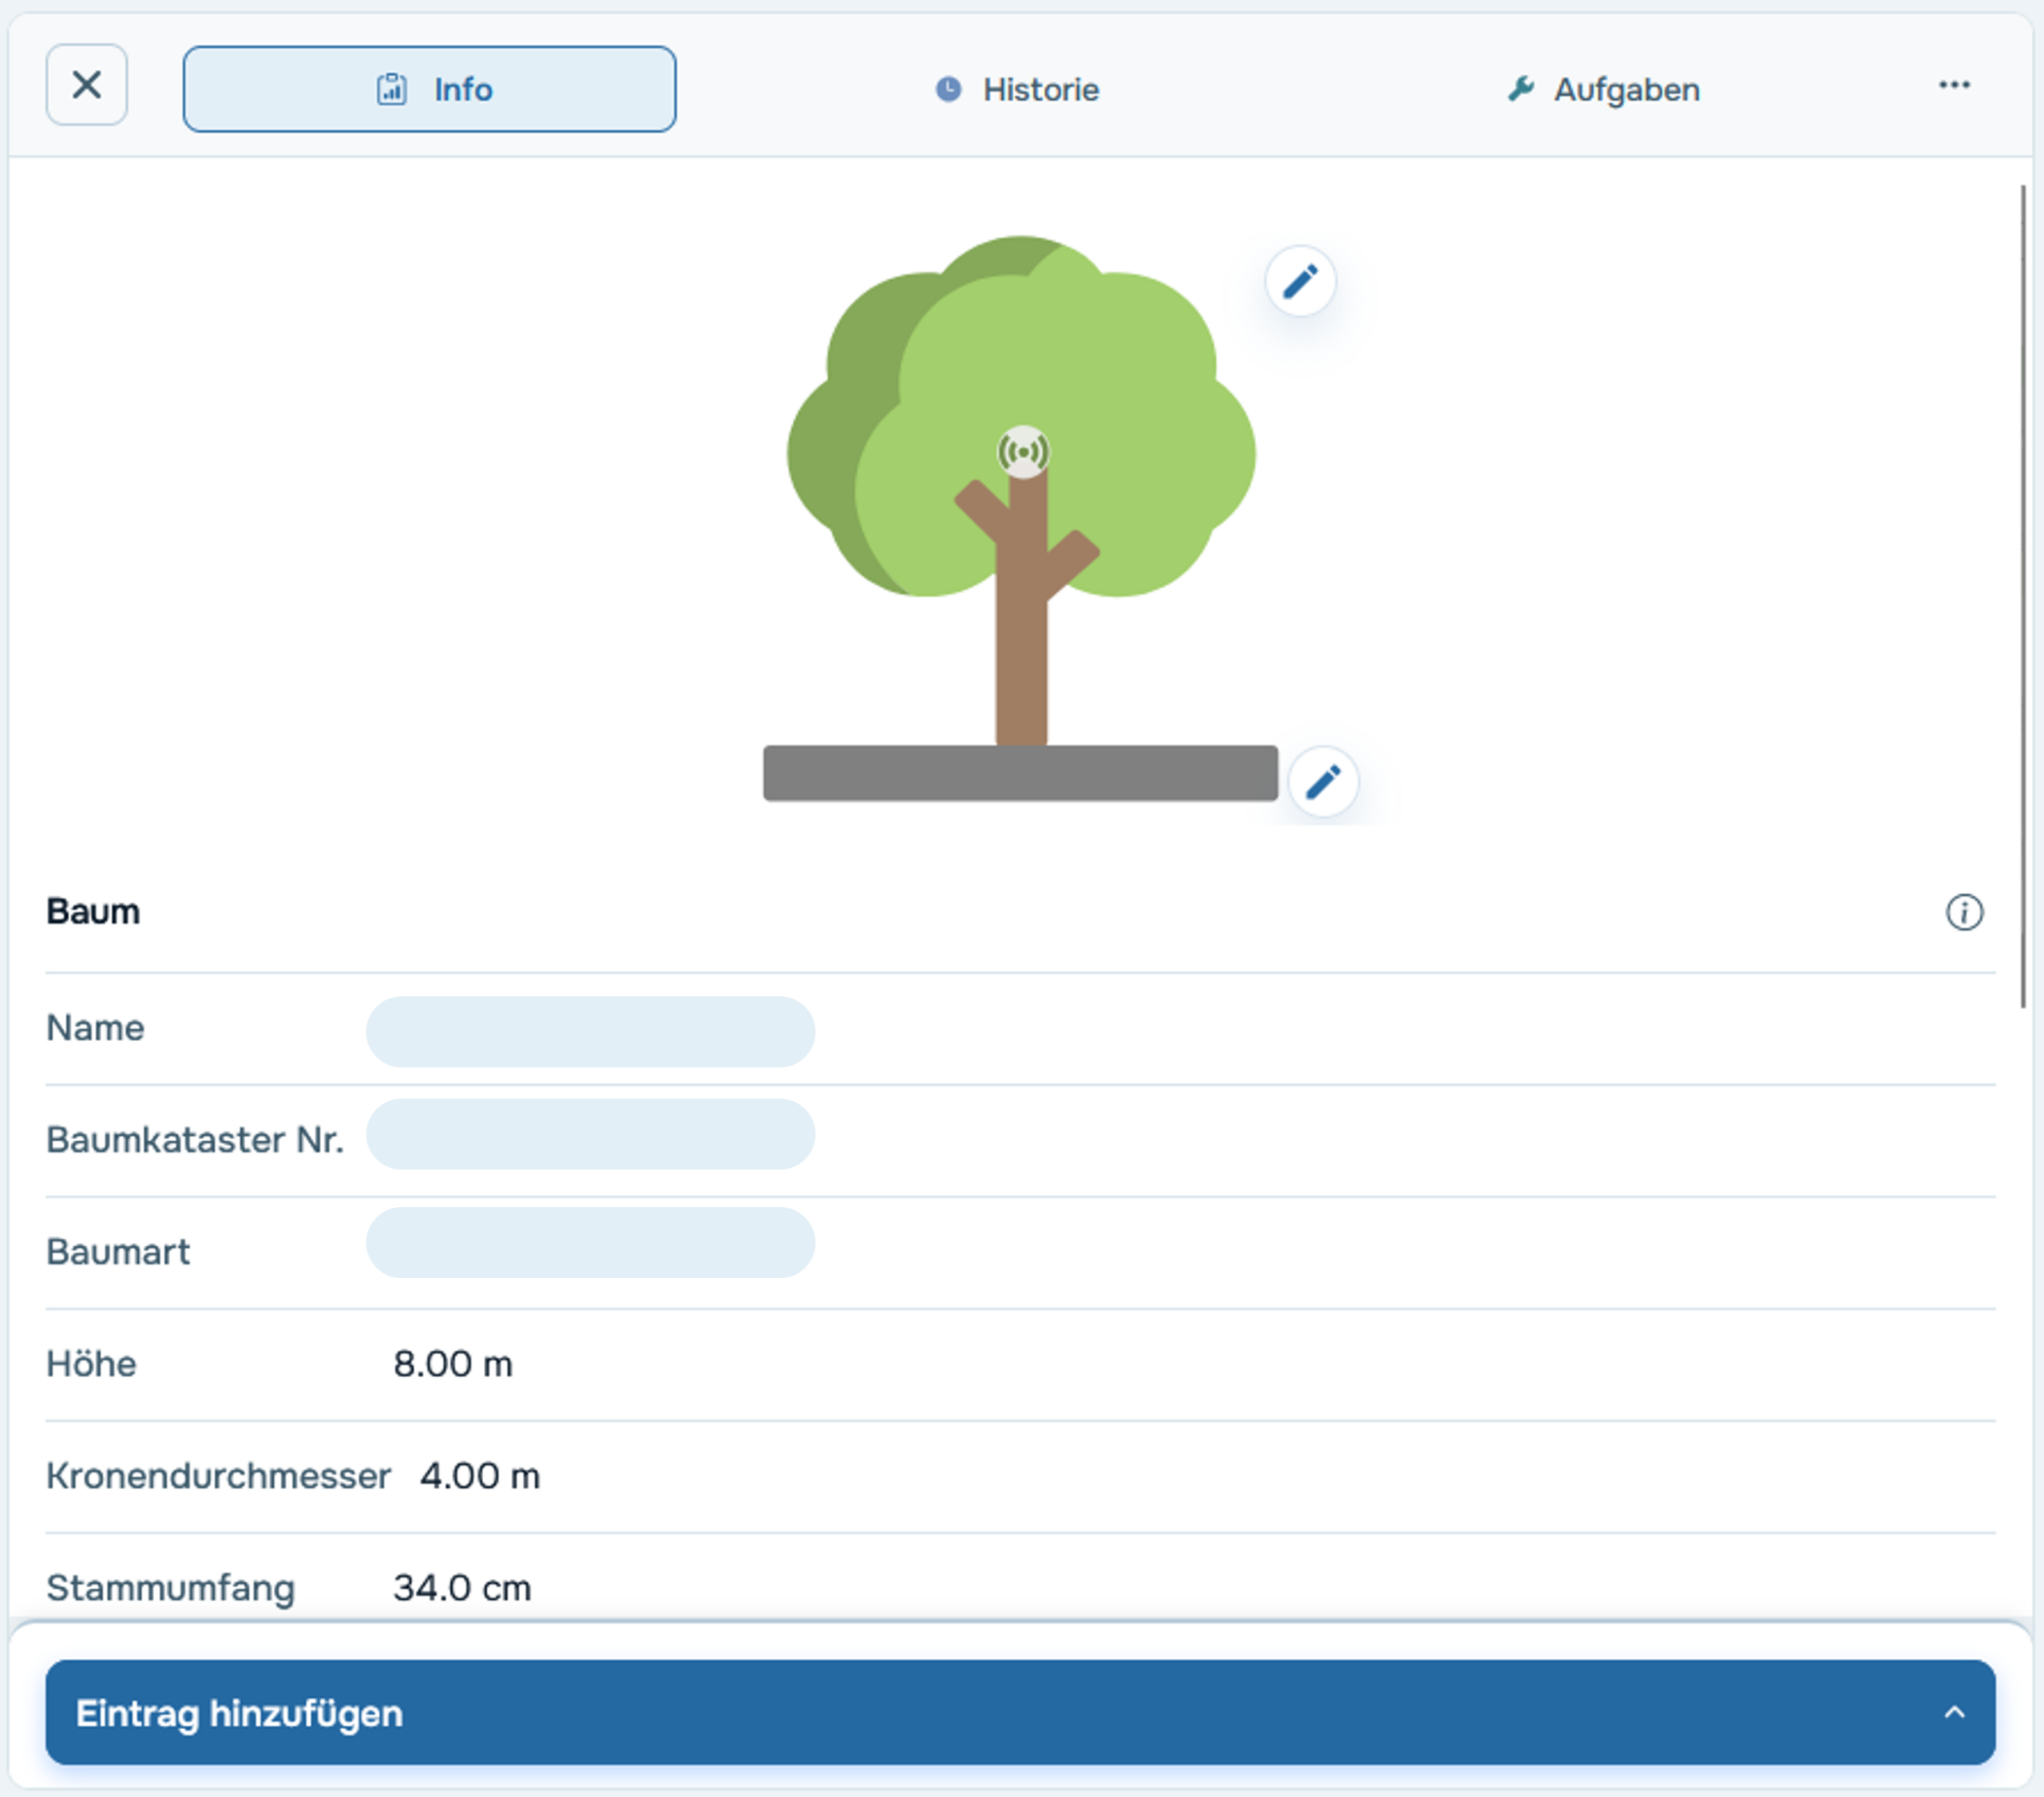
You can add photos, documents, maintenance history, and other information directly to the tree profile at any time. You can find the tree profile in the tree registry by selecting a tree from the tree inventory or the map view.
Step 3 – Create tasks
Create tasks for upcoming actions—either in the tree view by clicking “Add Entry” or under “Tasks” by clicking “New Task.” A dedicated task type is available for routine traffic safety inspections. Assign tasks to colleagues and set due dates.
→ Video tutorial: Create a task manually
Step 4 – Complete and document tasks
Mark completed tasks as finished in the tree profile or board view. This creates a complete, traceable maintenance history for each tree—which can serve as documentation for authorities or clients.

